


To install a crystal chandelier, turn off the power at the breaker, attach the mounting bracket to the ceiling outlet box, then set the hanging height — at least 7.5 feet of floor clearance, or 30 to 36 inches above a dining table. Connect the wiring (black to hot, white to neutral, green or yellow to ground), secure the canopy, add the bulbs, and finally hang the numbered crystal strands from the inside out. Electrical connections should always be made by a licensed electrician.
A well-chosen chandelier can completely transform a room, adding elegance, style, and ambiance. But once you’ve found the perfect design, the next challenge is installation—a task that can feel daunting if you’ve never done it before.
This guide walks you through the basic process of installing two common types of chandeliers—pendant-style dining room chandeliers and flush/ceiling-mounted foyer chandeliers—so you’ll know exactly what to expect.
Safety First
Before you begin, confirm with your builder or installer that your ceiling can safely support the chandelier’s weight. Electrical work should always be performed by a licensed electrician. You can install the decorative parts yourself, but leave wiring to a professional unless you have proper training.
Step 1: Preparation
1. Check all parts
Compare the included components to the instruction manual to make sure nothing is missing. Ask your electrician to test the fixture on the ground before mounting it to confirm there’s no shipping damage.
2. Tools you’ll need
-
Ladder
-
Pliers
-
Wire strippers
-
Screwdrivers
-
Power drill with appropriate bits (optional)
3. Shut off the power
Switch off electricity at your breaker box. For added safety, use a voltage tester to confirm there’s no current running through the wires.
Step 2: Install the Mounting Bracket
Pendant-Style Fixture:
-
Attach the mounting bracket to the outlet box with the screws provided.
Ceiling-Mounted Fixture:
-
Mark drill points on the ceiling, then attach the mounting bracket securely to the structural substrate.
Step 3: Determine the Hanging Height (Pendant Style Only)
The chain or cord length will depend on:
-
Fixture height
-
Clearance between the bottom of the chandelier and the surface below
Guidelines:
-
Open floor: at least 7.5 feet from floor to chandelier bottom
-
Above a dining table: 30–36 inches For full sizing rules, see the from table surface to chandelier bottom
-
Maintain at least 10 inches from ceiling to top of chandelier frame
Step 4: Adjust the Chain or Cables
-
Press the locking pin near the canopy to release the cable.
-
Adjust each cable individually so the fixture hangs level.
-
Release the pin to lock the cable in place.
Step 5: Connect the Wiring and Attach the Canopy
Typical wiring:
-
Black or brown wire → live (hot) wire
-
White or blue wire → neutral wire
-
Yellow/green wire → ground
Use wire nuts to secure each connection. Once wired, attach the canopy to the mounting bracket using the provided hardware.
Step 6: Remove Protective Film
Before adding crystals, peel away any protective plastic film from the canopy and base.
Step 7: Install the Bulbs
Check your fixture’s specifications for the correct bulb type (e.g., GU10, E12). LED bulbs are energy-efficient and available in various color temperatures—warm white for a cozy feel, daylight for a brighter, cooler effect.
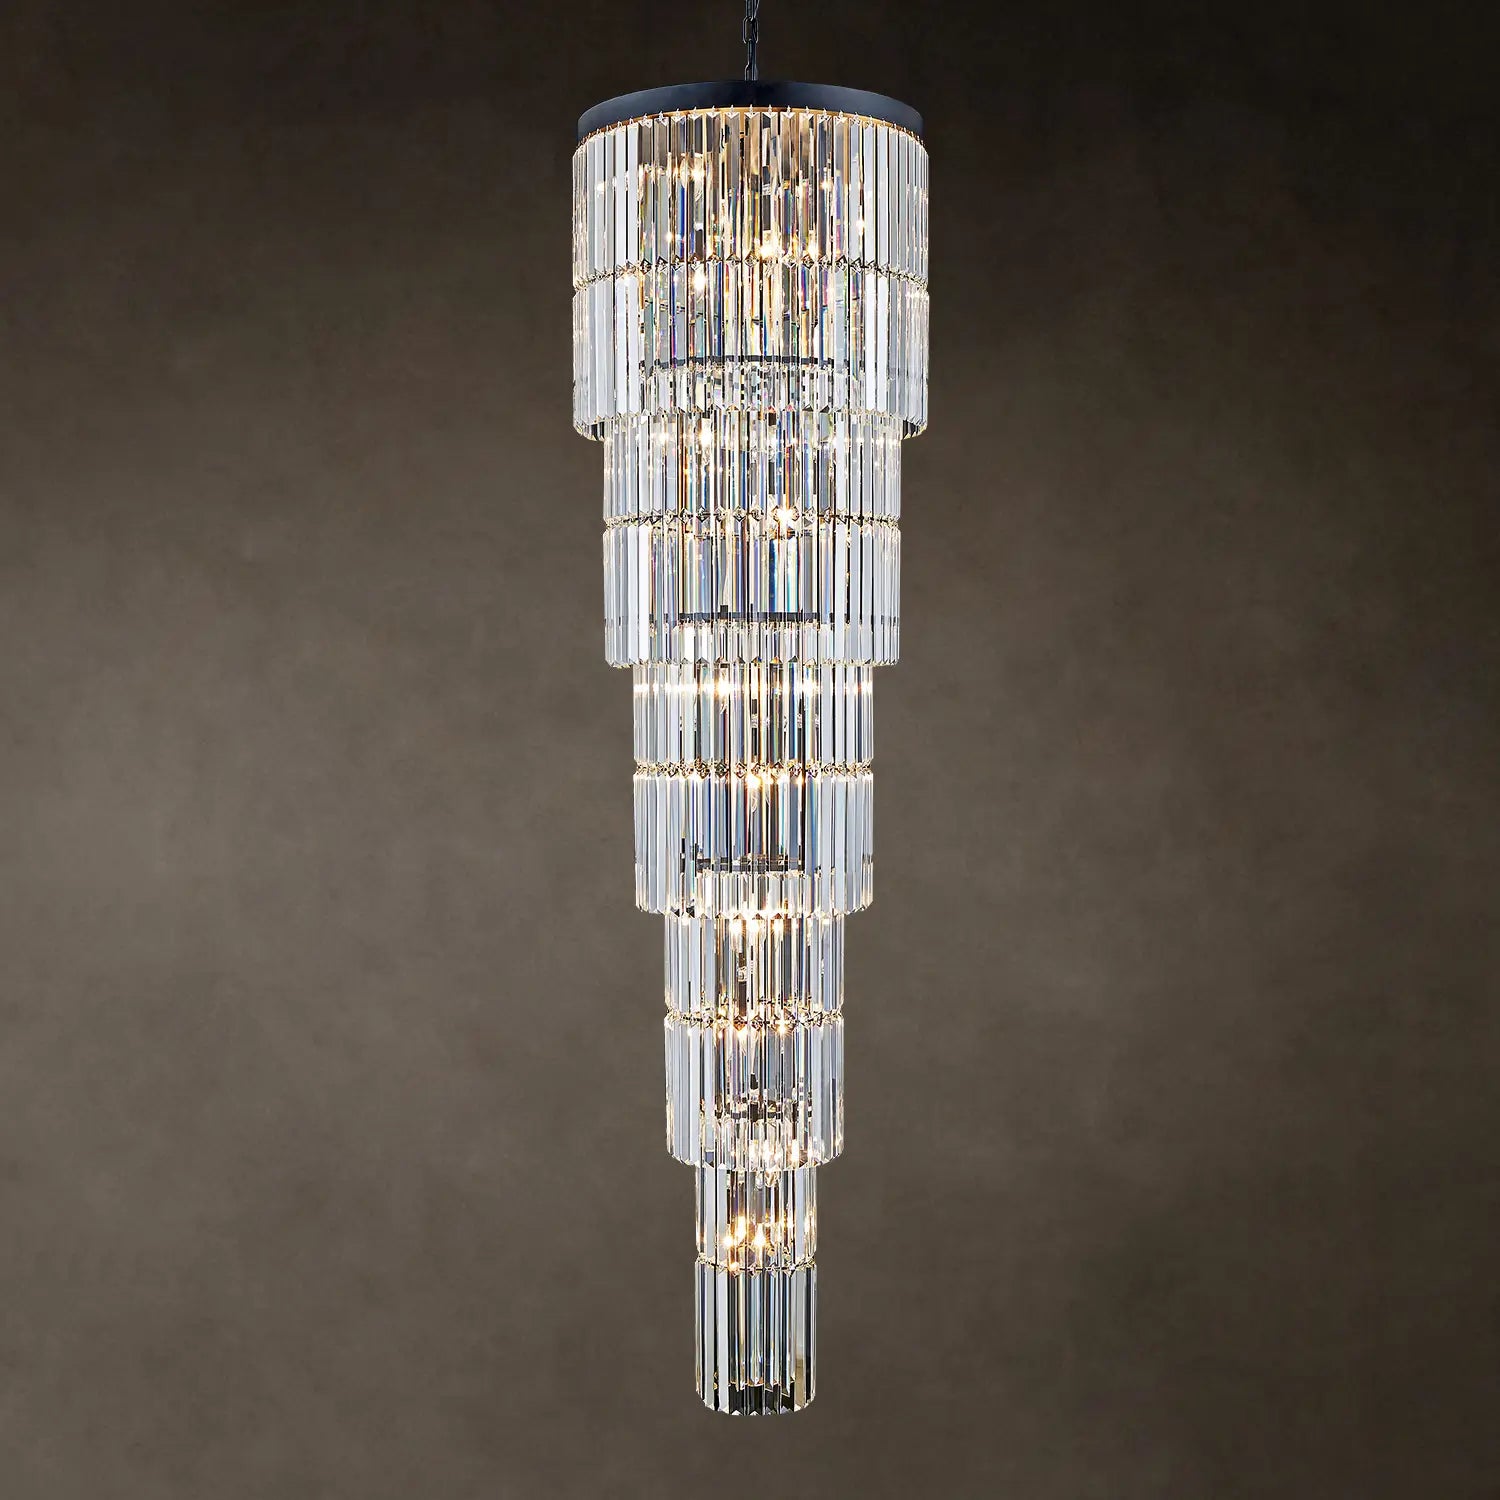
Step 8: Hang the Crystal Strands
Each crystal strand should have a number that matches a corresponding hook on the base. Attach from the inside outward to avoid tangling.
Step 9: Final Check
Stand back and ensure the chandelier is level and at the correct height. Make any final adjustments, then restore power at the breaker box. Turn on your light and enjoy the sparkle of your newly installed chandelier
Once installed, keep it sparkling with our guide on
Pro Tip: You can save money by hiring a handyman to handle the physical hanging of crystals after your electrician finishes wiring—hourly rates are usually much lower.
By following these steps, you’ll have a clear idea of the installation process and be better prepared to work with professionals or tackle some of the assembly yourself. The result? A statement-making chandelier that enhances your home’s beauty and creates a warm, inviting glow for years to come.
Crystal Chandelier Installation FAQ
Do I need an electrician to install a crystal chandelier?
The wiring connections should be made by a licensed electrician. You can safely handle the non-electrical parts yourself — assembling the frame, adjusting the chain height, and hanging the crystal strands — to save on labor.
How high should a chandelier hang after installation?
Allow at least 7.5 feet of clearance from the floor to the bottom of the fixture in open areas, or 30 to 36 inches above a dining table for an 8-foot ceiling.
How do you attach chandelier crystals in the right order?
Each crystal strand is numbered to match a corresponding hook on the frame. Attach them from the inside outward to prevent tangling, working around the fixture row by row.
Can I install a crystal chandelier where a different light was before?
Usually yes, if the existing outlet box and ceiling structure can support the chandelier's weight. Crystal chandeliers are heavier than standard fixtures, so confirm the box is rated for the weight before mounting.